
In today’s world, efficiency and productivity are key to success. But with so many tasks to complete and deadlines to meet, this can be sometimes overwhelming. However, this is where Power Automate comes in.
Power Automate is a powerful tool that helps to streamline workflow by automating repetitive tasks, which in turn frees up your time to focus on more important things.
In this article, I will take a deep dive into Power Automate and explore its key features, functionalities, and best practices for using it effectively.
So, let’s dive right in!
What is Power Automate?
Power Automate, formerly known as Microsoft Flow, is a cloud-based service that lets users automate tasks across various applications and services.
With a user-friendly interface and broad integration capabilities, Power Automate affords users the opportunity to streamline their processes, increase productivity, and drive efficiency.
Getting started with Power Automate
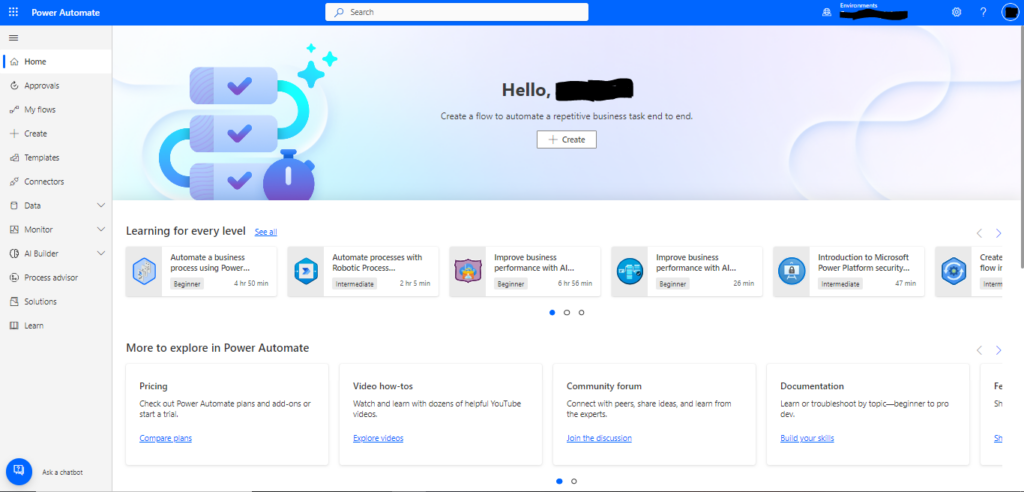
It is very easy to get started with Power Automate even if you have no prior experience with automation tools. To first thing to do is to sign up for an account, which will redirect you to the homepage.
On the home page, you can create your first flow—a series of steps that automates tasks or processes.
To create a flow, simply click on the “Create” button on the homepage and select the type of flow you want to create either from the templates or create your flow from scratch.
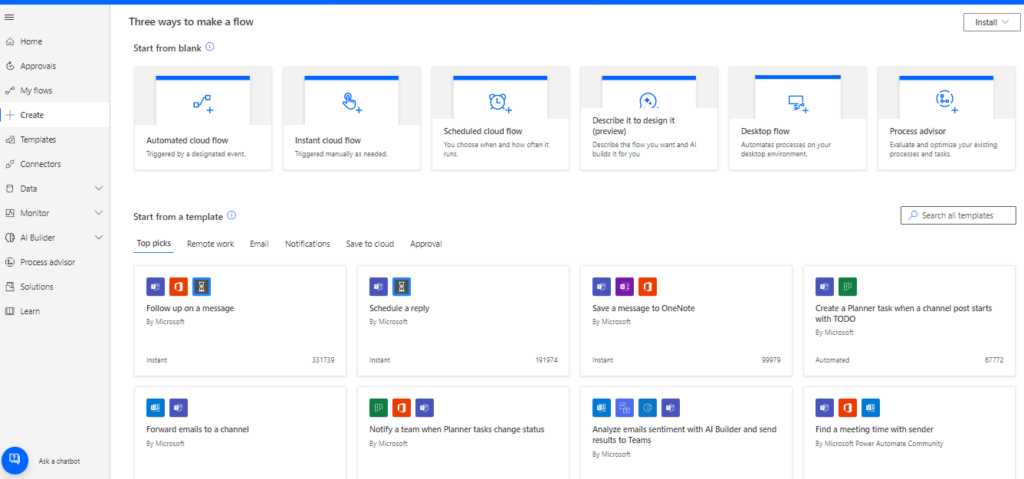
Once you select your flow type, it will take you to the flow editor where you can customize your flow such as adding steps, setting conditions, configuring triggers, etc. Also, you can add actions that integrate with other Microsoft tools, like Excel, Teams, etc.
As you can see, getting started is just as simple. With just a few clicks, you can create customized workflows to easily automate your daily tasks.
Customizing your Flow
In Power Automate, you can customize your flow by adding steps, conditions, and actions that are tailored to your workflow, and this is an important step in making sure it fits your specific needs.

For example, you might want to add a condition that only activates your flow if certain criteria are met. To do this, simply add a “Condition” step to your flow and set the criteria you want to use.
You can also customize your flow by adding actions that integrate with other Microsoft tools. For example, you might want to add an action that creates a new task in Microsoft Teams whenever a new item is added to your SharePoint list.
What is Power Automate Used For?
There are different ways you can use this automation tool. Some of the common use cases include:
- Email automation: It can be used to automate email tasks like sending welcome emails to new subscribers or sending follow-up emails to customers who haven’t completed a purchase
- Social media automation: Also, you can use it to automate social media tasks like posting content, checking mentions, etc.
- Data entry automation: It can also be used to automate data entry tasks such as adding new leads to CRM, updating customer details, etc.
- Project management automation: You can as well use it to automate project management tasks like creating Teams tasks, sending reminders, etc.
How to Get the Most Out of Power Automate
To get the most out of this tool, there are best practices you should follow. Below are some tips for effectiveness:
Start small
When creating your first flow, you should start with simple tasks. This will allow you to get familiar with the flow editor and ensure your flow is working correctly.
Use templates
The templates can help you get started quickly and can be easily customized to fit your specific needs.
Always test your flows
Before activating your flows, be sure to test them to make sure they’re working correctly. This will help you avoid errors and ensure that your workflows are running smoothly.
Monitor your flows
Once you activate your flows, you should monitor them regularly to ensure that they are running correctly. This will help you detect errors or issues before they become bigger problems.
Power Automate vs. Other Automation Tools
Power Automate is just one of many automation tools and offers distinct characteristics. The following are some key differences between Power Automate and other automation tools:
Ease of use
The tool is designed to be easy to use, even for beginners, unlike other automation tools that may require a rigorous learning curve.
Power Automate Integration with Microsoft tools
Also, it seamlessly integrates with other Microsoft tools like SharePoint, and Teams. It also allows users to create complex workflows from multiple sources.
Cost-effective
Finally, while other automation tools may be more expensive, Power Automate offers a free plan that allows users to create up to 750 flows per month.
Power Automate Resources and Support
If you are looking for more information, there are several resources available. Here are some resources you might find helpful:
Microsoft Power Automate documentation
This documentation provides detailed information on how to use the tool, such as tutorials, FAQs, and best practices.
Microsoft Power Automate community
The community is a great place to connect with other users, ask questions, and share tips and tricks.
Microsoft Power Automate blog
This blog provides regular updates on new features and functions, as well as tips and best practices for using the tool.
Conclusion
In conclusion, Power Automate is a great tool that helps users streamline their workflows, increase productivity, and reduce errors.
By automating repetitive tasks and integrating with other Microsoft tools, this automation tool allows you to create customized workflows that fit your precise needs.
So, give it a try today!
To further streamline your workflow, you can also try out SharePoint, a tool for effective data management.
Thanks for reading!